Set for the First Time
The existing Arduino Ethernet and WIFI shields set IP address and MAC address in the source codes. Unlike those shields, PHPoC Shield for Arduino provides a function which manages environment parameters related to the network of the shield itself. Using this shield, therefore, makes Arduino source codes more concise.
Here is how to set up parameters related to wired/wireless network on PHPoC Shield for Arduino for the first time. A smart phone or laptop is required for wireless LAN connection settings.
Set for The First Time
-
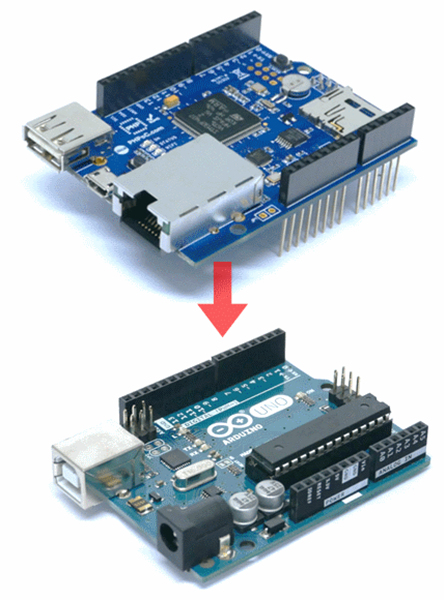
Connect PHPoC Shield for Arduino to your Arduino.
-
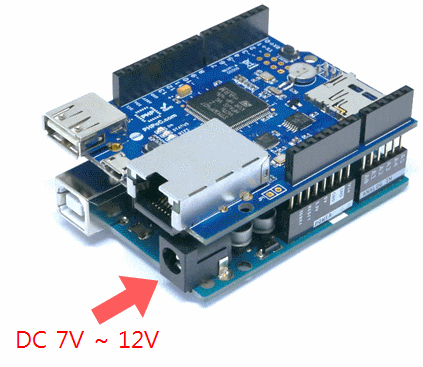
Input power to the Arduino.
-
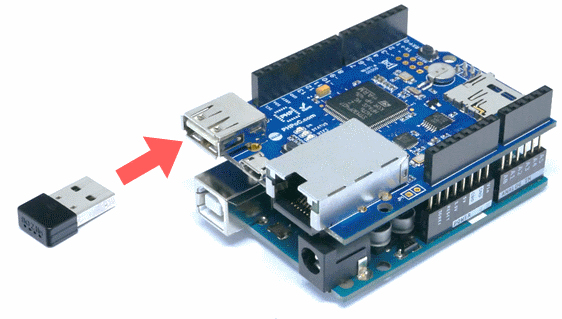
Insert a USB WIFI dongle to the shield.
-
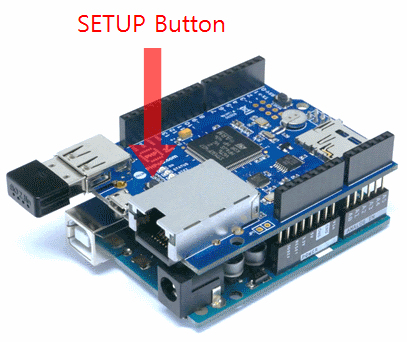
Push SETUP button on the shield once.
-
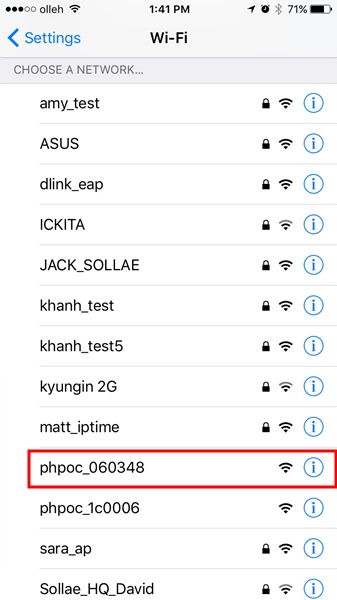
With your laptop or smartphone, connect to the wireless network starting with “phpoc_”.
-
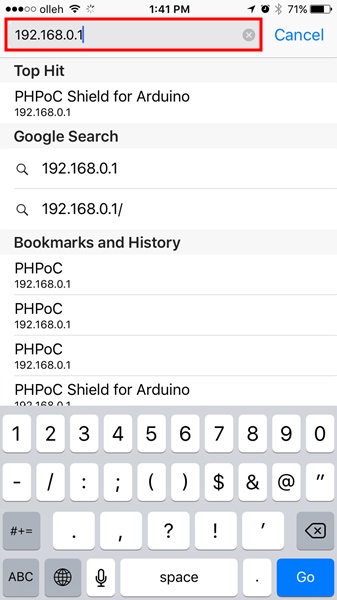
Run the web browser once it is properly connected to the wireless LAN.

-
Connect to the shield by entering “192.168.0.1” in the address bar.
-
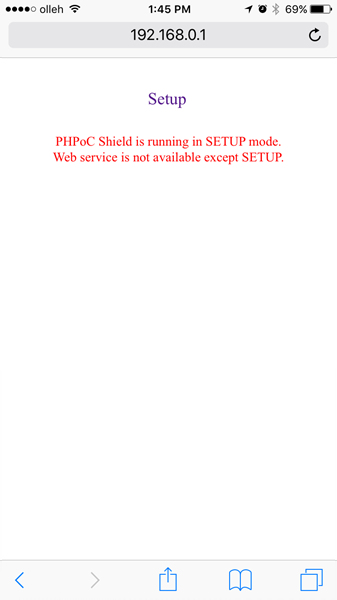
Once it is connected to the setup page, you can configure the network environment.
-
This is the screen of basic setup page.
