Set for the First Time
The existing Arduino Ethernet and WIFI shields set IP address and MAC address in the source codes. Unlike those shields, P4S-348-R2 provides a function which manages environment parameters related to the network of the shield itself.
Here is how to set up parameters related to wired/wireless network on PHPoC Shield for Arduino for the first time. A mobile phone or a laptop is required for the settings.
Set for The First Time
-
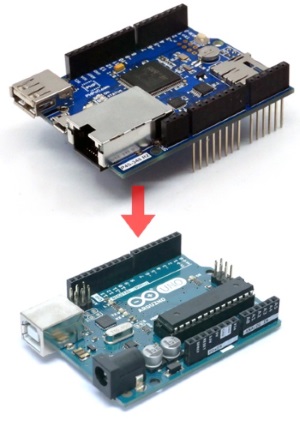
Connect the shield to your Arduino.
-
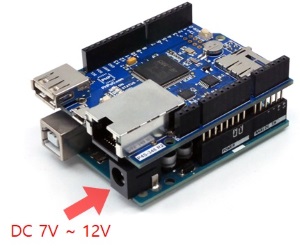
Input power to the Arduino.
-
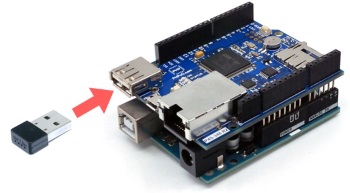
Insert a USB WIFI dongle to the shield.
-
Push SETUP button on the shield once.

-
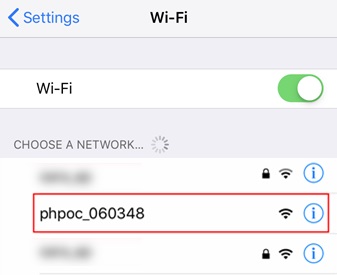
With your mobile(or laptop), connect to the wireless network starting with "phpoc_".
-
Run a web browser once it is properly connected to the wireless LAN.

-
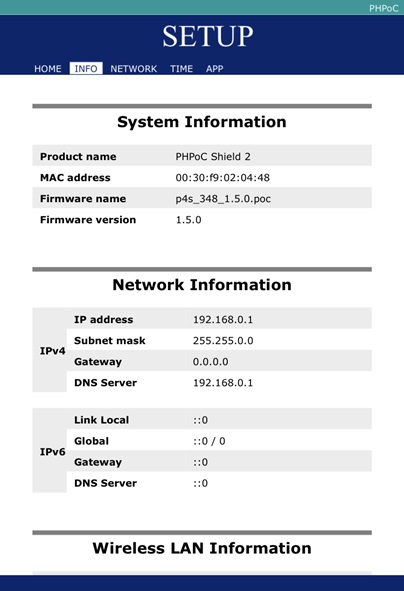
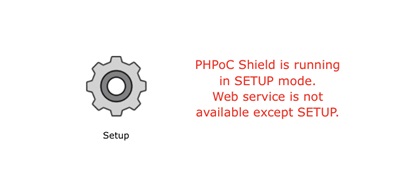
Connect to the shield by entering "192.168.0.1" in the address bar.

-
Move to the SETUP page by clicking the "Setup" image.
-
You can set network, time and web application parameters on this page.